Unity Demos
Discover Unity Demos
Get the inside scoop and learn about the Unity demos, sample games, and projects that showcase our advancements in high-end visuals, real-time rendering.
ENEMY

The Heretic

Viking Village URP

#01
ENEMY
Raising the bar on Unity’s visual quality
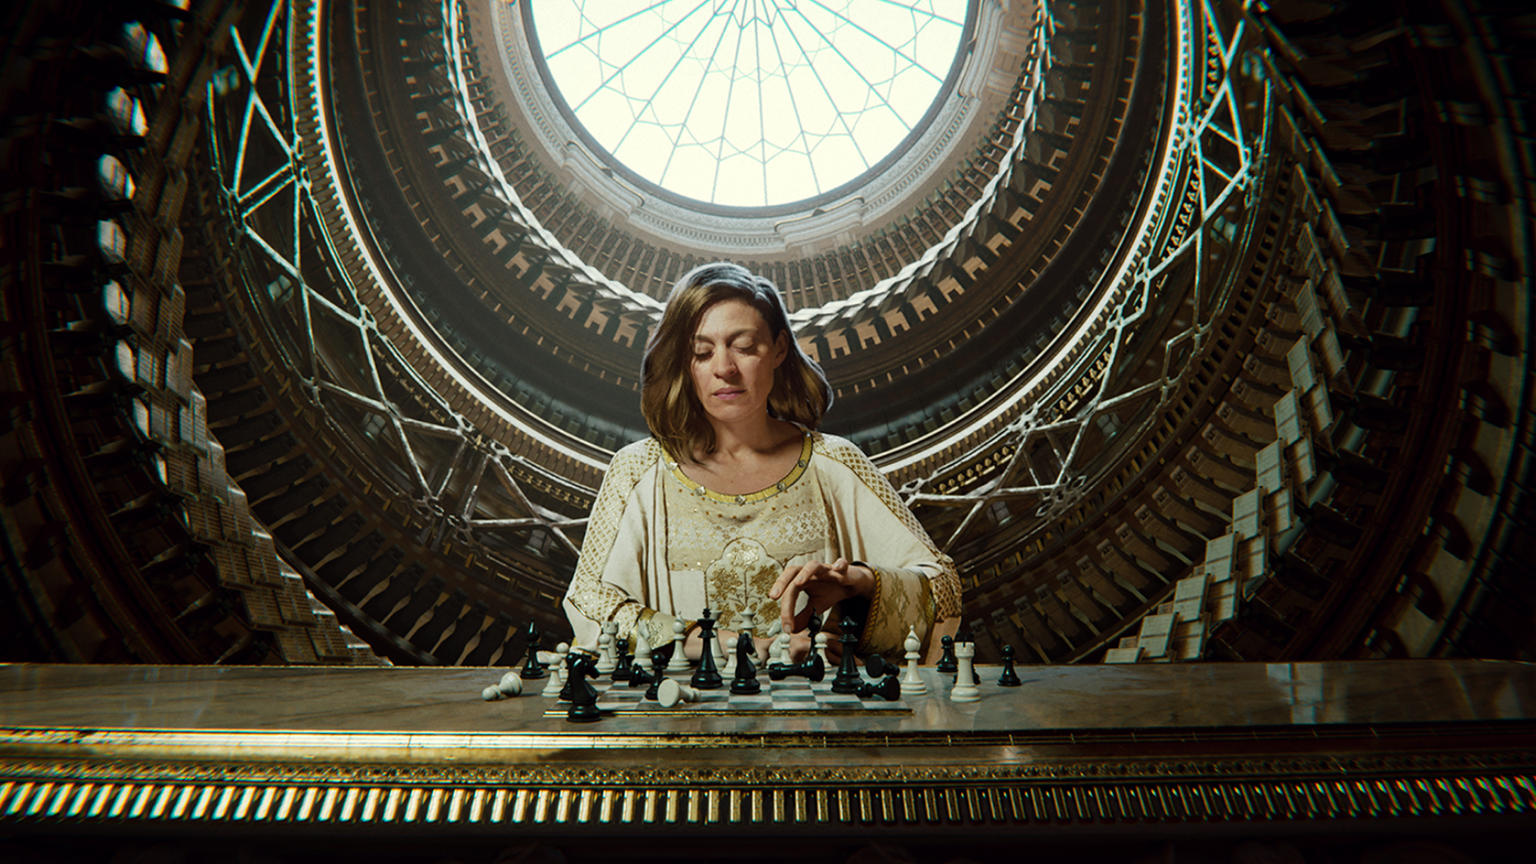
Enemies showcases the power and capabilities of the Unity platform for creating high-end, visually compelling content – making it possible for any creative team to fully realize its vision. Our real-time 3D (RT3D) technology is constantly evolving to meet the ever-growing expectations creators have for visual quality and realism.
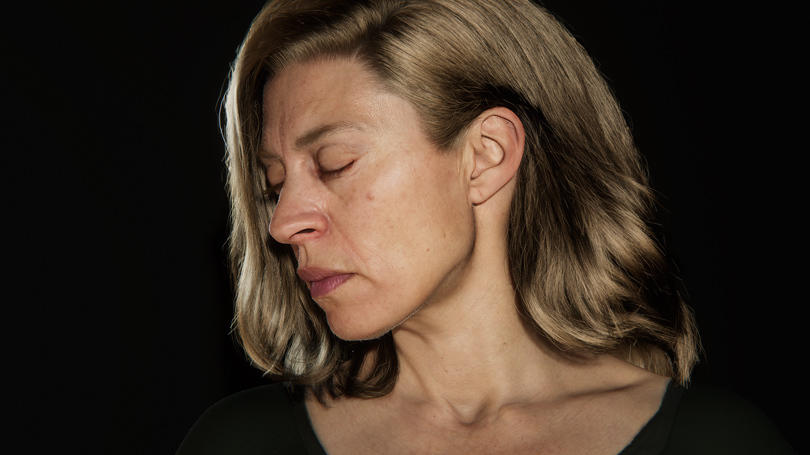
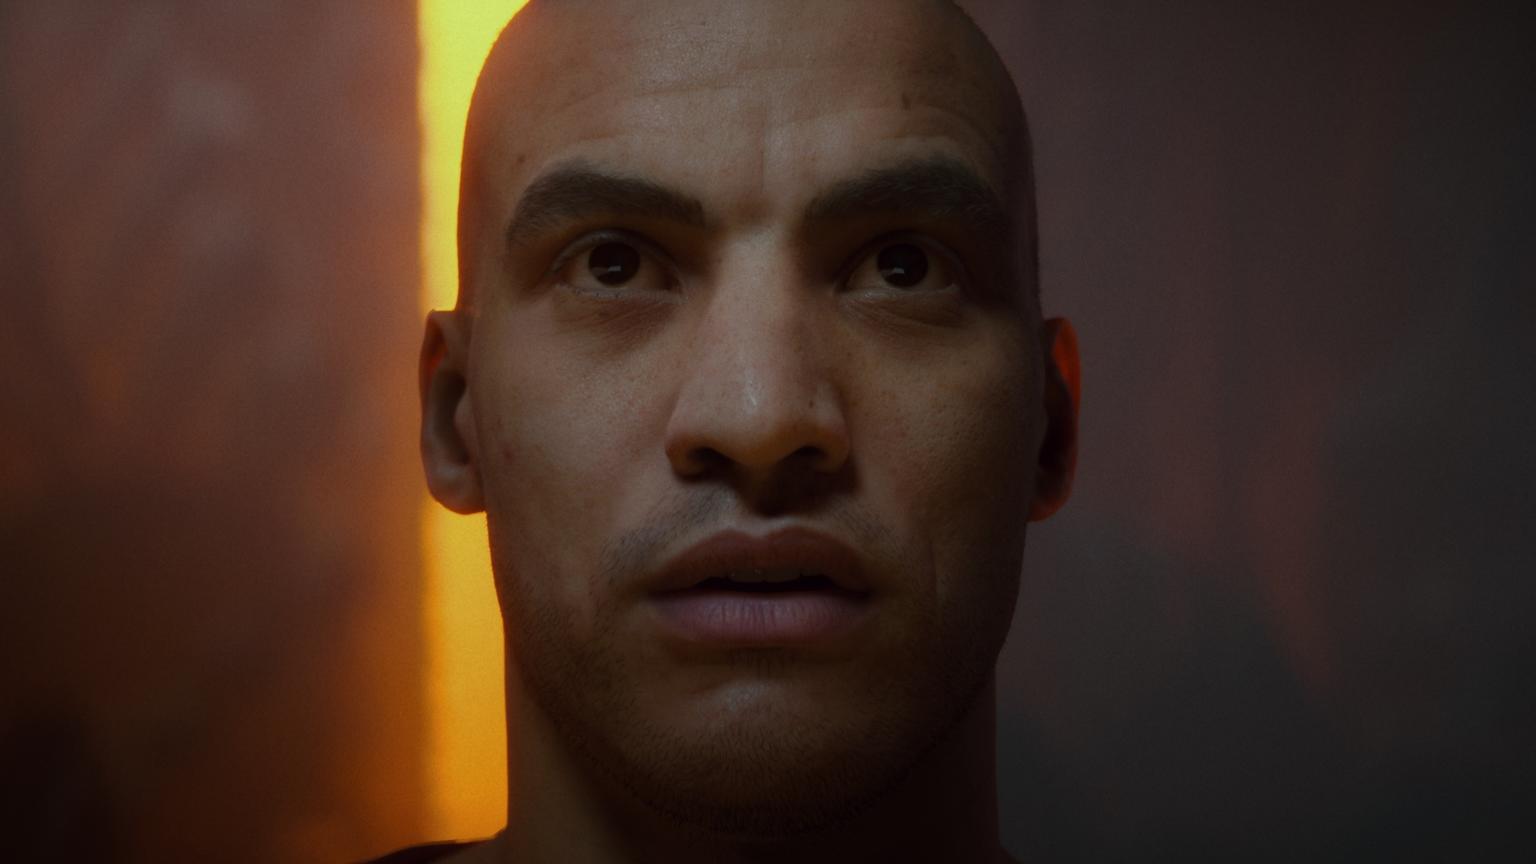
Digital humans in Unity
Enemies expands on the work done for The Heretic, which featured Unity’s first realistic digital human. Improvements include:
- A better 4D pipeline
- Skin Attachment system on the GPU to allow for high-density meshes (e.g., peach fuzz)
- More realistic eyes with caustics on the iris
- A new skin shader
- Tension tech for blood flow simulation and wrinkle maps, eliminating the need for a facial rig for fine details


The tech behind Enemies
All High Definition Render Pipeline (HDRP) features have been improved and some new systems were introduced, including Adaptive Probe volumes and Screen Space Global Illumination (SSGI). Real-time ray traced reflections, ray traced ambient occlusion, and native support for NVIDIA’s Deep Learning Super Sampling (DLSS) allow the demo to run at 4K with image quality comparable to native resolution.
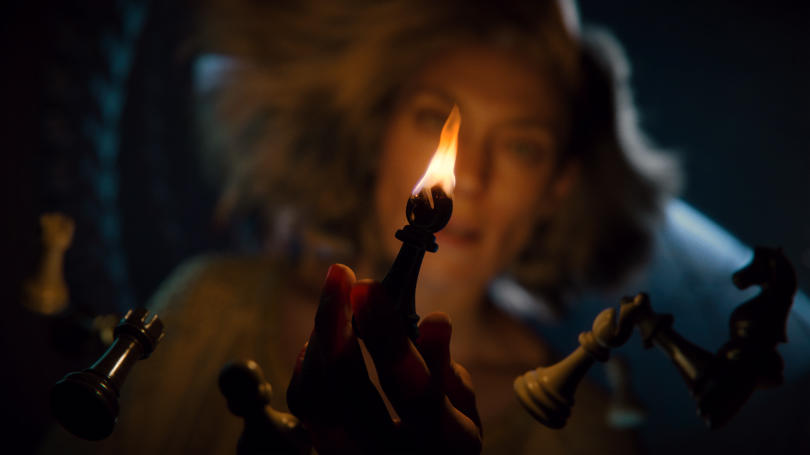
Strand-based, real-time Hair solution
For the protagonist’s highly realistic locks, the Demo team and Unity’s R&D team collaborated on an all-new Hair solution for authoring, importing, simulating, and rendering strand-based hair. It works with any authoring tools that output data in the Alembic format. In Enemies, the team used Maya XGen, and is validating the pipeline with Weta Barbershop.
The Hair Solution is now available as an experimental package on Unity’s GitHub. Requires Unity 2020.2.0f1 or later.
Releases
The demo was featured in the Unity booth at the Game Developers Conference (GDC) on March 23-25 for attendees to check out as a standalone or running in the Unity Editor.
Q3 2022: The Digital Human Package has been updated, available for download now.
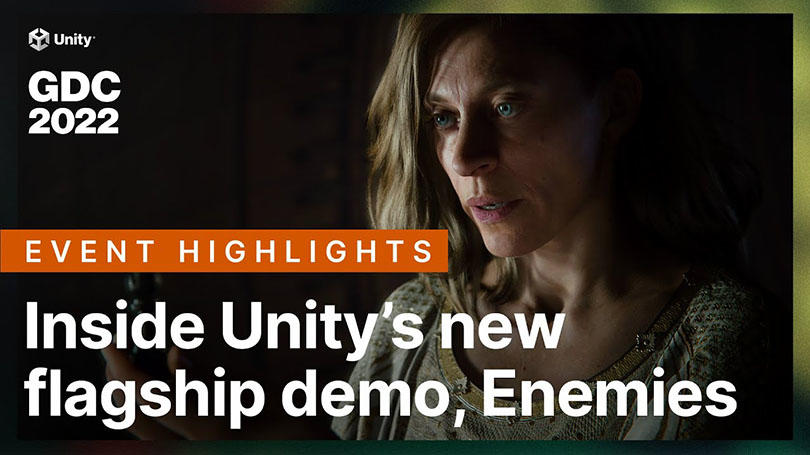
Inside Enemies
Take a deep dive into the tech behind Enemies to learn how the Demo team brought this photorealistic protagonist to life. In this video, Mark Schoennagel walks you through the techniques and technology developed for achieving photorealistic eyes, hair, skin, and more – all rendered in real-time and running in 4K resolution.

#02
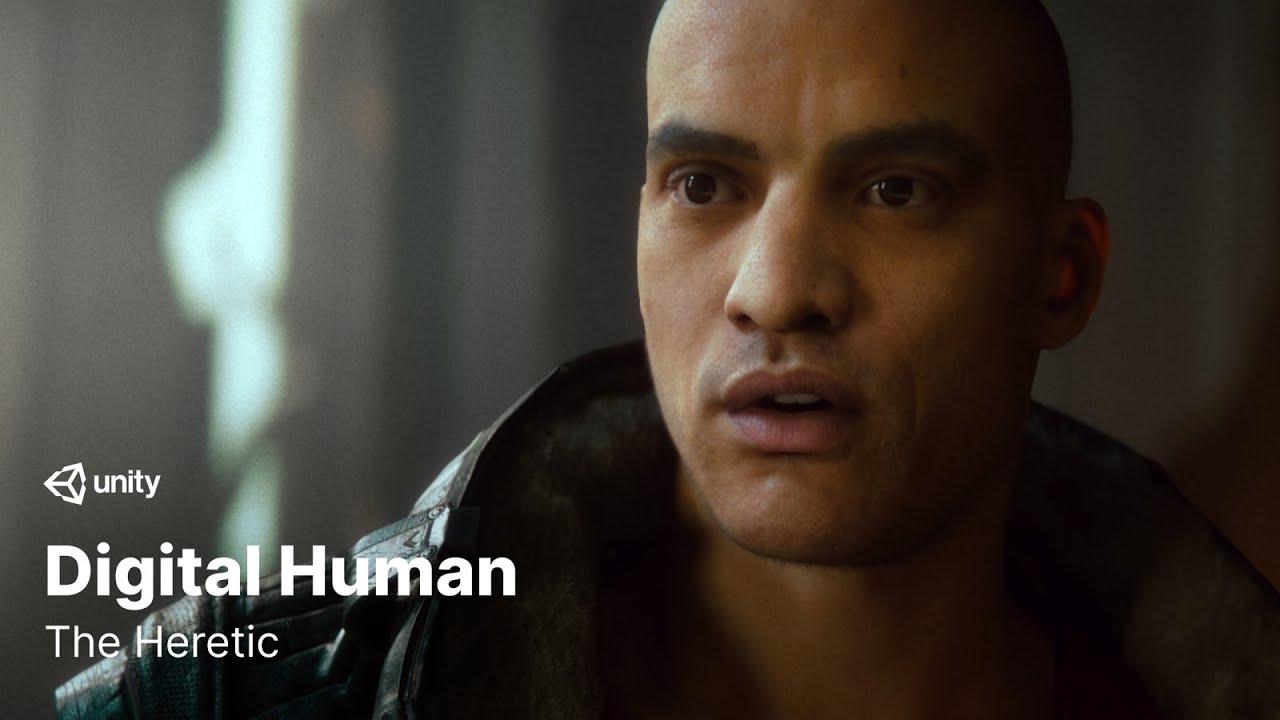
The Heretic
Visual quality out of the box
The Heretic was created on stock Unity 2019.3 and pushed Unity’s graphics features to the limit, including every possible aspect of the High Definition Render Pipeline (HDRP) with the integrated Post-Processing stack, and the Visual Effect Graph. HDRP now ships with built-in Shader Graph master nodes for realistic hair, eyes, and fabric.

Creating a realistic digital human
Creating photorealistic digital humans is a complex technical challenge. The Heretic is our first attempt to tackle this. We aimed to establish a pipeline and a bar of quality appropriate to this challenge.
Our pipeline combined 3D and 4D scanning to obtain high-quality textures and poses and believable, realistic movement. It’s based on the services of commercially available vendors: Infinite Realities for high-quality scanning, Russian 3D Scanner for highly accurate data pre-processing, and Snappers for facial rigging.
The 4D scanned data, which preserves the realism of the actor’s performance, is supplemented by bringing back the microsurface details, wrinkles, pores, etc., obtained from 3D scanning. This approach gives better results than using the two techniques individually. We completed the pipeline for the reconstruction of the digital human by attaching the eyelashes, eyebrows, stubble, and hair with the help of dedicated attachment tools.

The digital human character model with a demo scene is now available for download on GitHub. You can use it as a learning resource or for non-commercial projects.
The technology we developed for our complete data pipeline, from the acquisition of 3D and 4D data through processing and into set up in Unity is also available on GitHub. You’re free to use these in your commercial productions and build on top of them as you see fit.
Both the digital character and the technology stack are also in this Unity Asset Store package.
Real-time VFX workflows in The Heretic
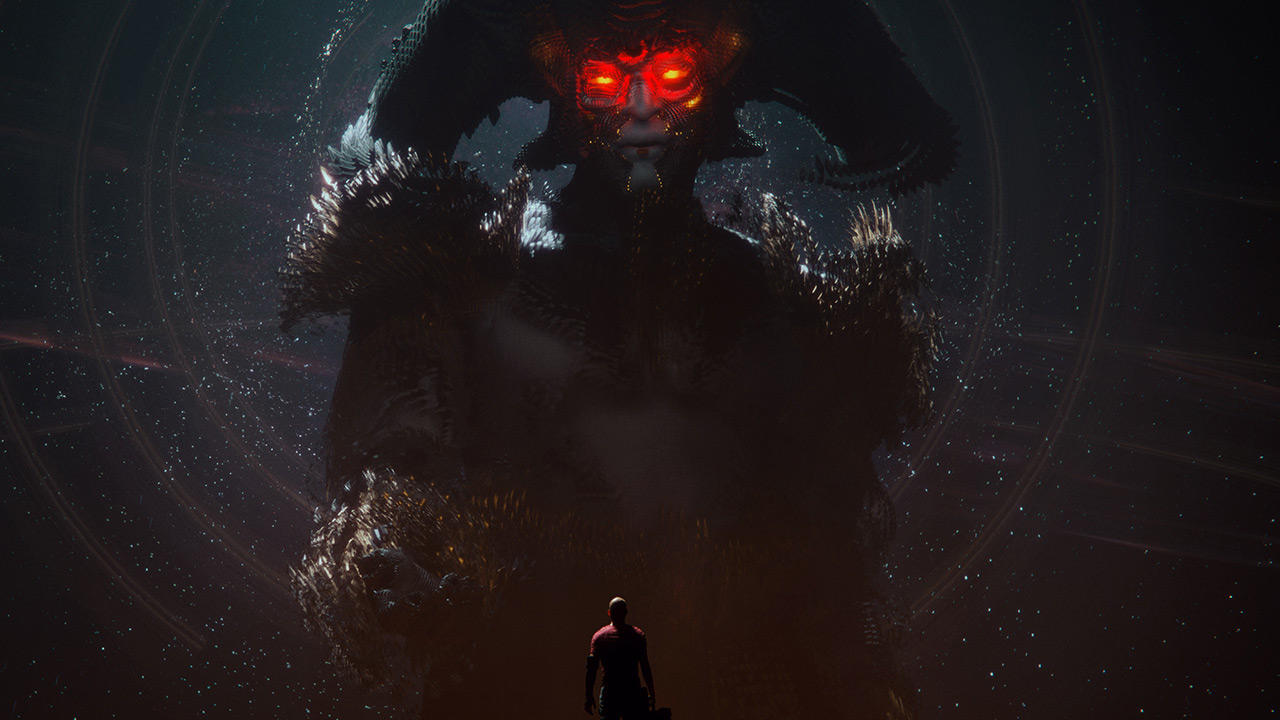

At Unite Copenhagen, Technical Artist Adrian Lazar and Unity Evangelist Andy Touch explained how the team used the Visual Effect Graph to bring the Morgan character to life. By creating the simulation with GPU particles, the artists can change the shape, gender, appearance, and behavior of the character and see their adjustments in real-time.
The Morgan character asset is now available for you to download and import into your projects.
Behind The Heretic
Get behind-the-scenes insights into our work on The Heretic, and advice on how to get started with The Heretic assets, HDRP lighting,

Topics covered
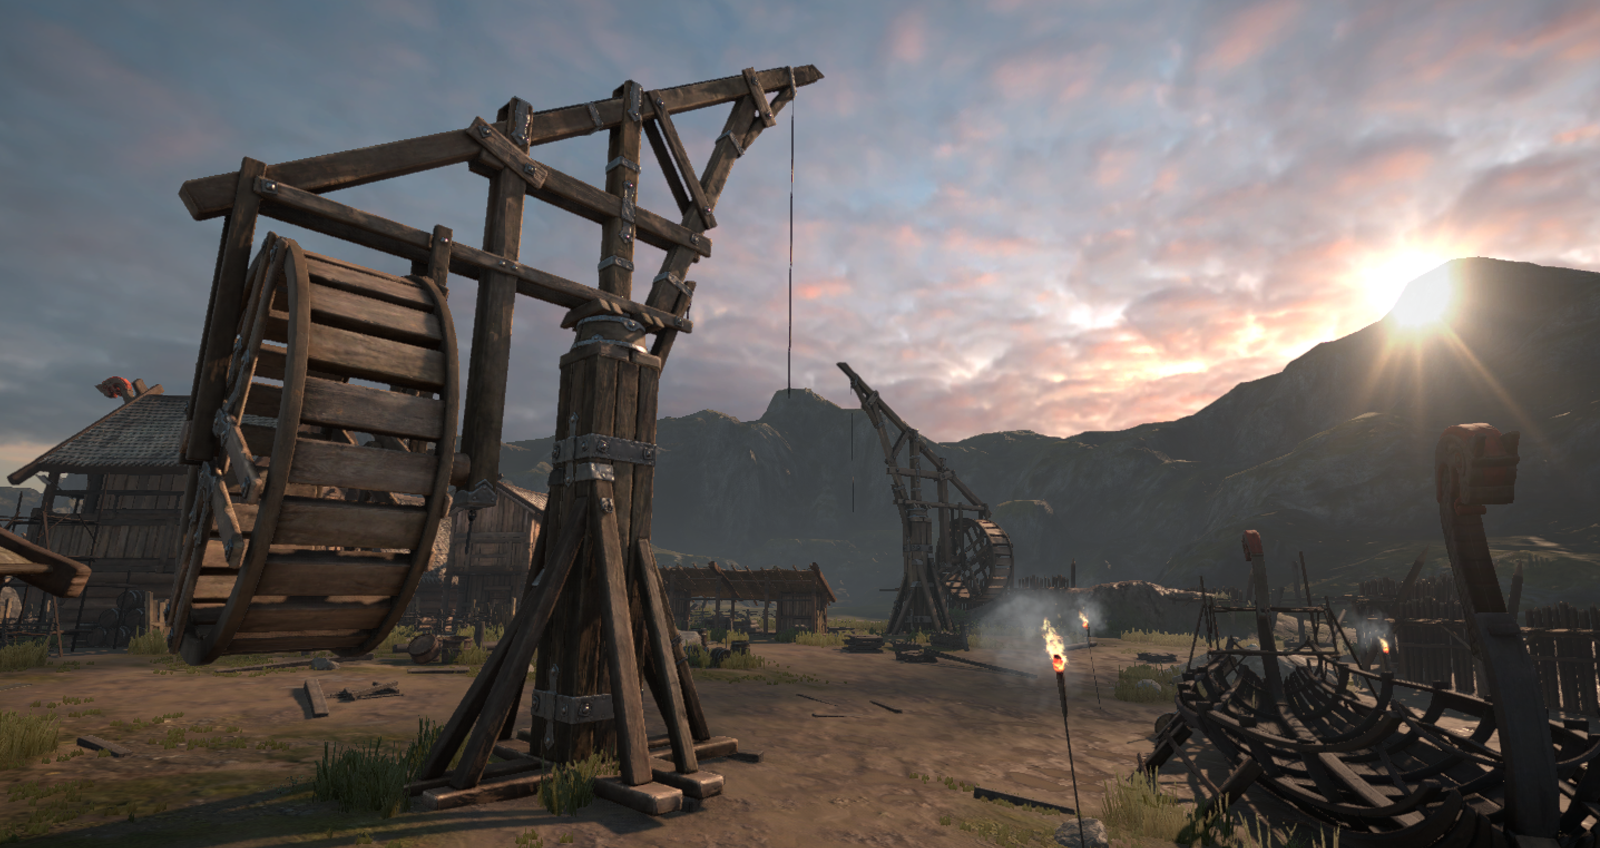
Throughout the development of Unity 5, we’ve used our Viking Village project internally as a testing ground for shading and lighting workflows.
If you’re using the Unity 5 beta, you can download the Viking Village package from the Asset Store to get insights into how you can assemble and illuminate a scene in Unity 5. We also present some of our learnings below.
https://youtube.com/watch?v=iV-224nMwN8%3Fautoplay%3D0%26mute%3D0%26controls%3D1%26origin%3Dhttps%253A%252F%252Fblog.unity.com%26playsinline%3D1%26showinfo%3D0%26rel%3D0%26iv_load_policy%3D3%26modestbranding%3D1%26enablejsapi%3D1%26widgetid%3D1
Creating a template environment
In order to ensure that your texturing and shader configuration is behaving appropriately, we recommend that you use a simple scene with a variety of lighting setups. This could mean differing skyboxes, lights etc – anything that contributes to illuminating your model.
When you open Unity 5, you’ll notice that any new empty scene has a procedural sky as well as default ambient and reflection settings. This provides a suitable starting point.
For our template environment we used:
- HDR camera rendering
- A few scattered reflection probes (for localized reflections on objects)
- A group of light-probes
- A set of HDR sky-textures and materials, as well as procedural skies. The sky which ships with this project was custom-made for Unity by Bob Groothuis, author of Dutch Skies 360.
- Off-white directional lights with matched intensity and HDR sky color
Adjusting sky texture panoramas
Most sky textures include the sun (along with flares etc.), thus, light from the sun gets reflected by surfaces. This has the potential to cause three issues:
1) The Directional light you use to represent the sun must match the exact direction of the sun painted onto the skybox or there will be multiple specular hotspots on the material.
2) The reflected sun and the specular hotspot overlap, causing intense specular highlights.
3) The baked-in sun reflection is not occluded when the surface is in shadow and it becomes overly shiny in darkness.
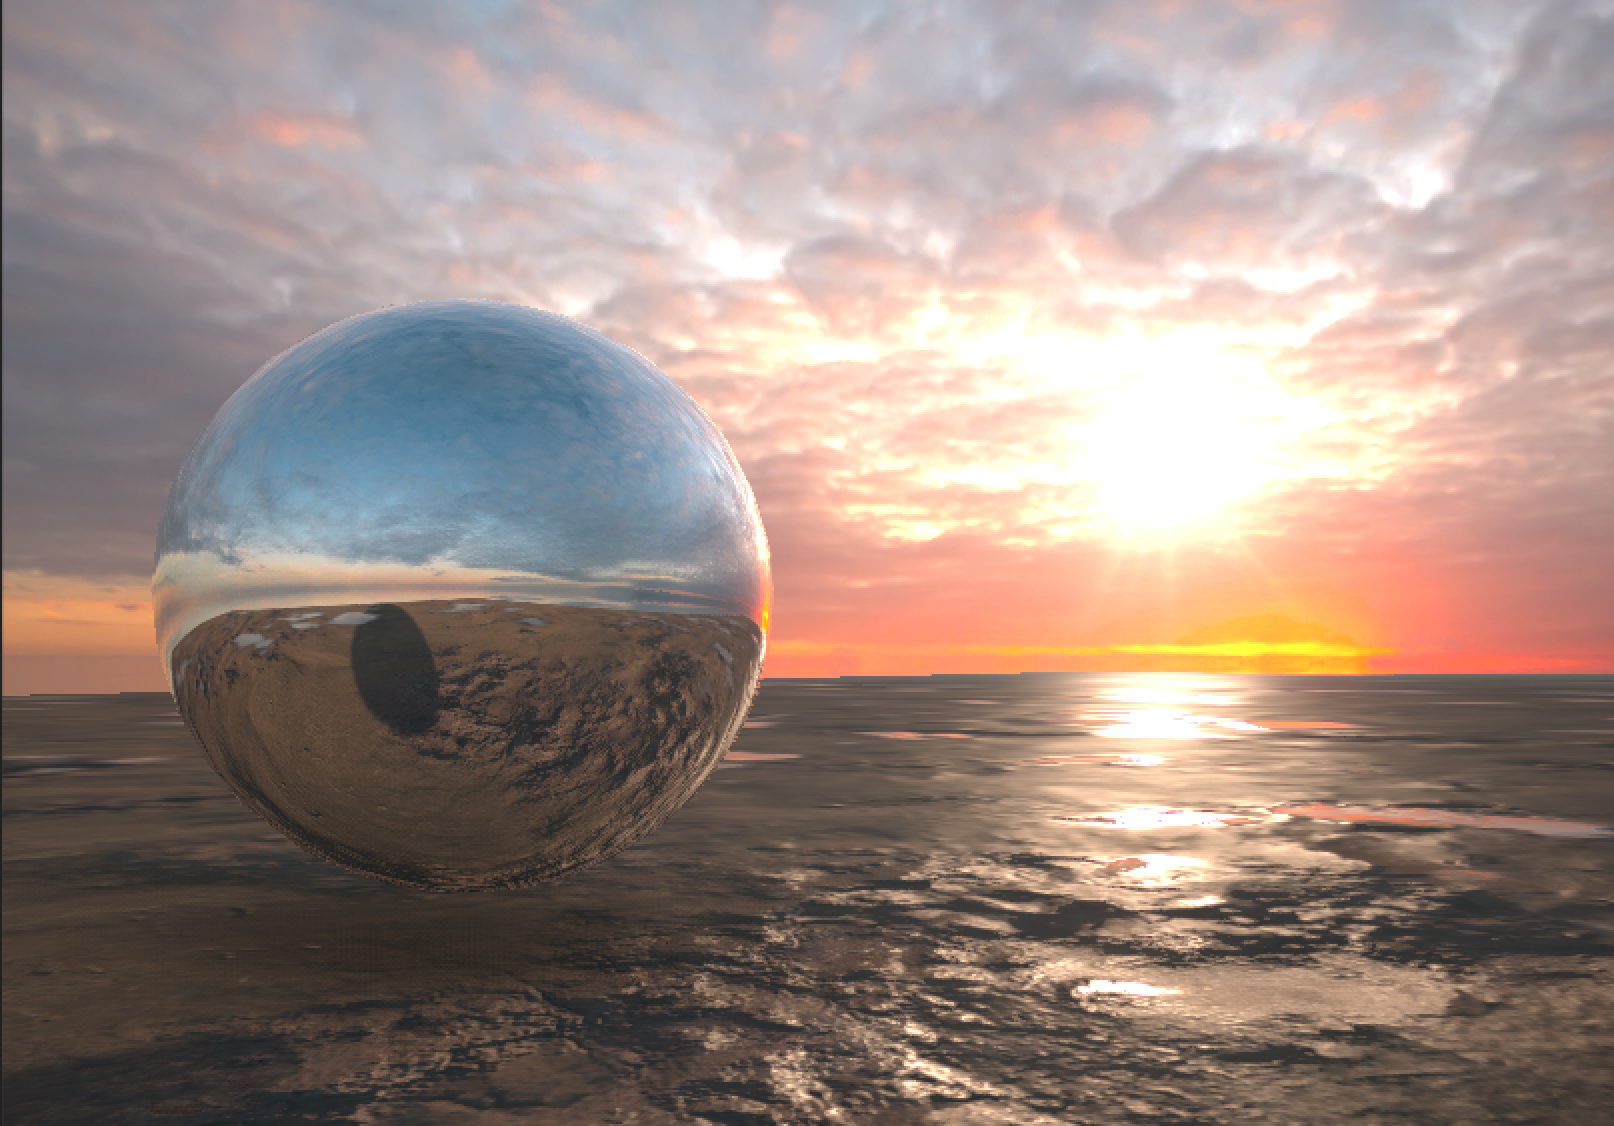
The sun is erased from the sky texture and re-added using a directional light and a lens flare.
As a result, the sun highlight, flares, sunrays and HDR values need to be edited out of the sky texture and reapplied using Directional Lights.
Authoring physically-based shading materials
To avoid the guesswork involved in emulating real world materials, it is useful to follow a reliable known reference.The Standard Shader supports both a Specular Color and a Metallic workflow. They both define the color of the reflections leaving the surface. In the Specular workflow, color is specified directly, whilst in the Metallic workflow, the color is derived from a combination of the diffuse color and the metallic value set in the Standard Shader controls
For the Viking Village project, we used the Standard Shader’s Specular Color Workflow. Our calibration scene, which you can download from the Asset Store, includes some handy calibration charts. We referenced the charts regularly when designing our materials.
When approaching materials you can choose between what we call the Specular and the Metallic workflows, each with its own set of values and a reference chart. In the Specular workflow you choose the color of the specularly reflected light directly, in the metallic workflow you choose if the material behaves like a metal when it is illuminated.
The specular value chart:
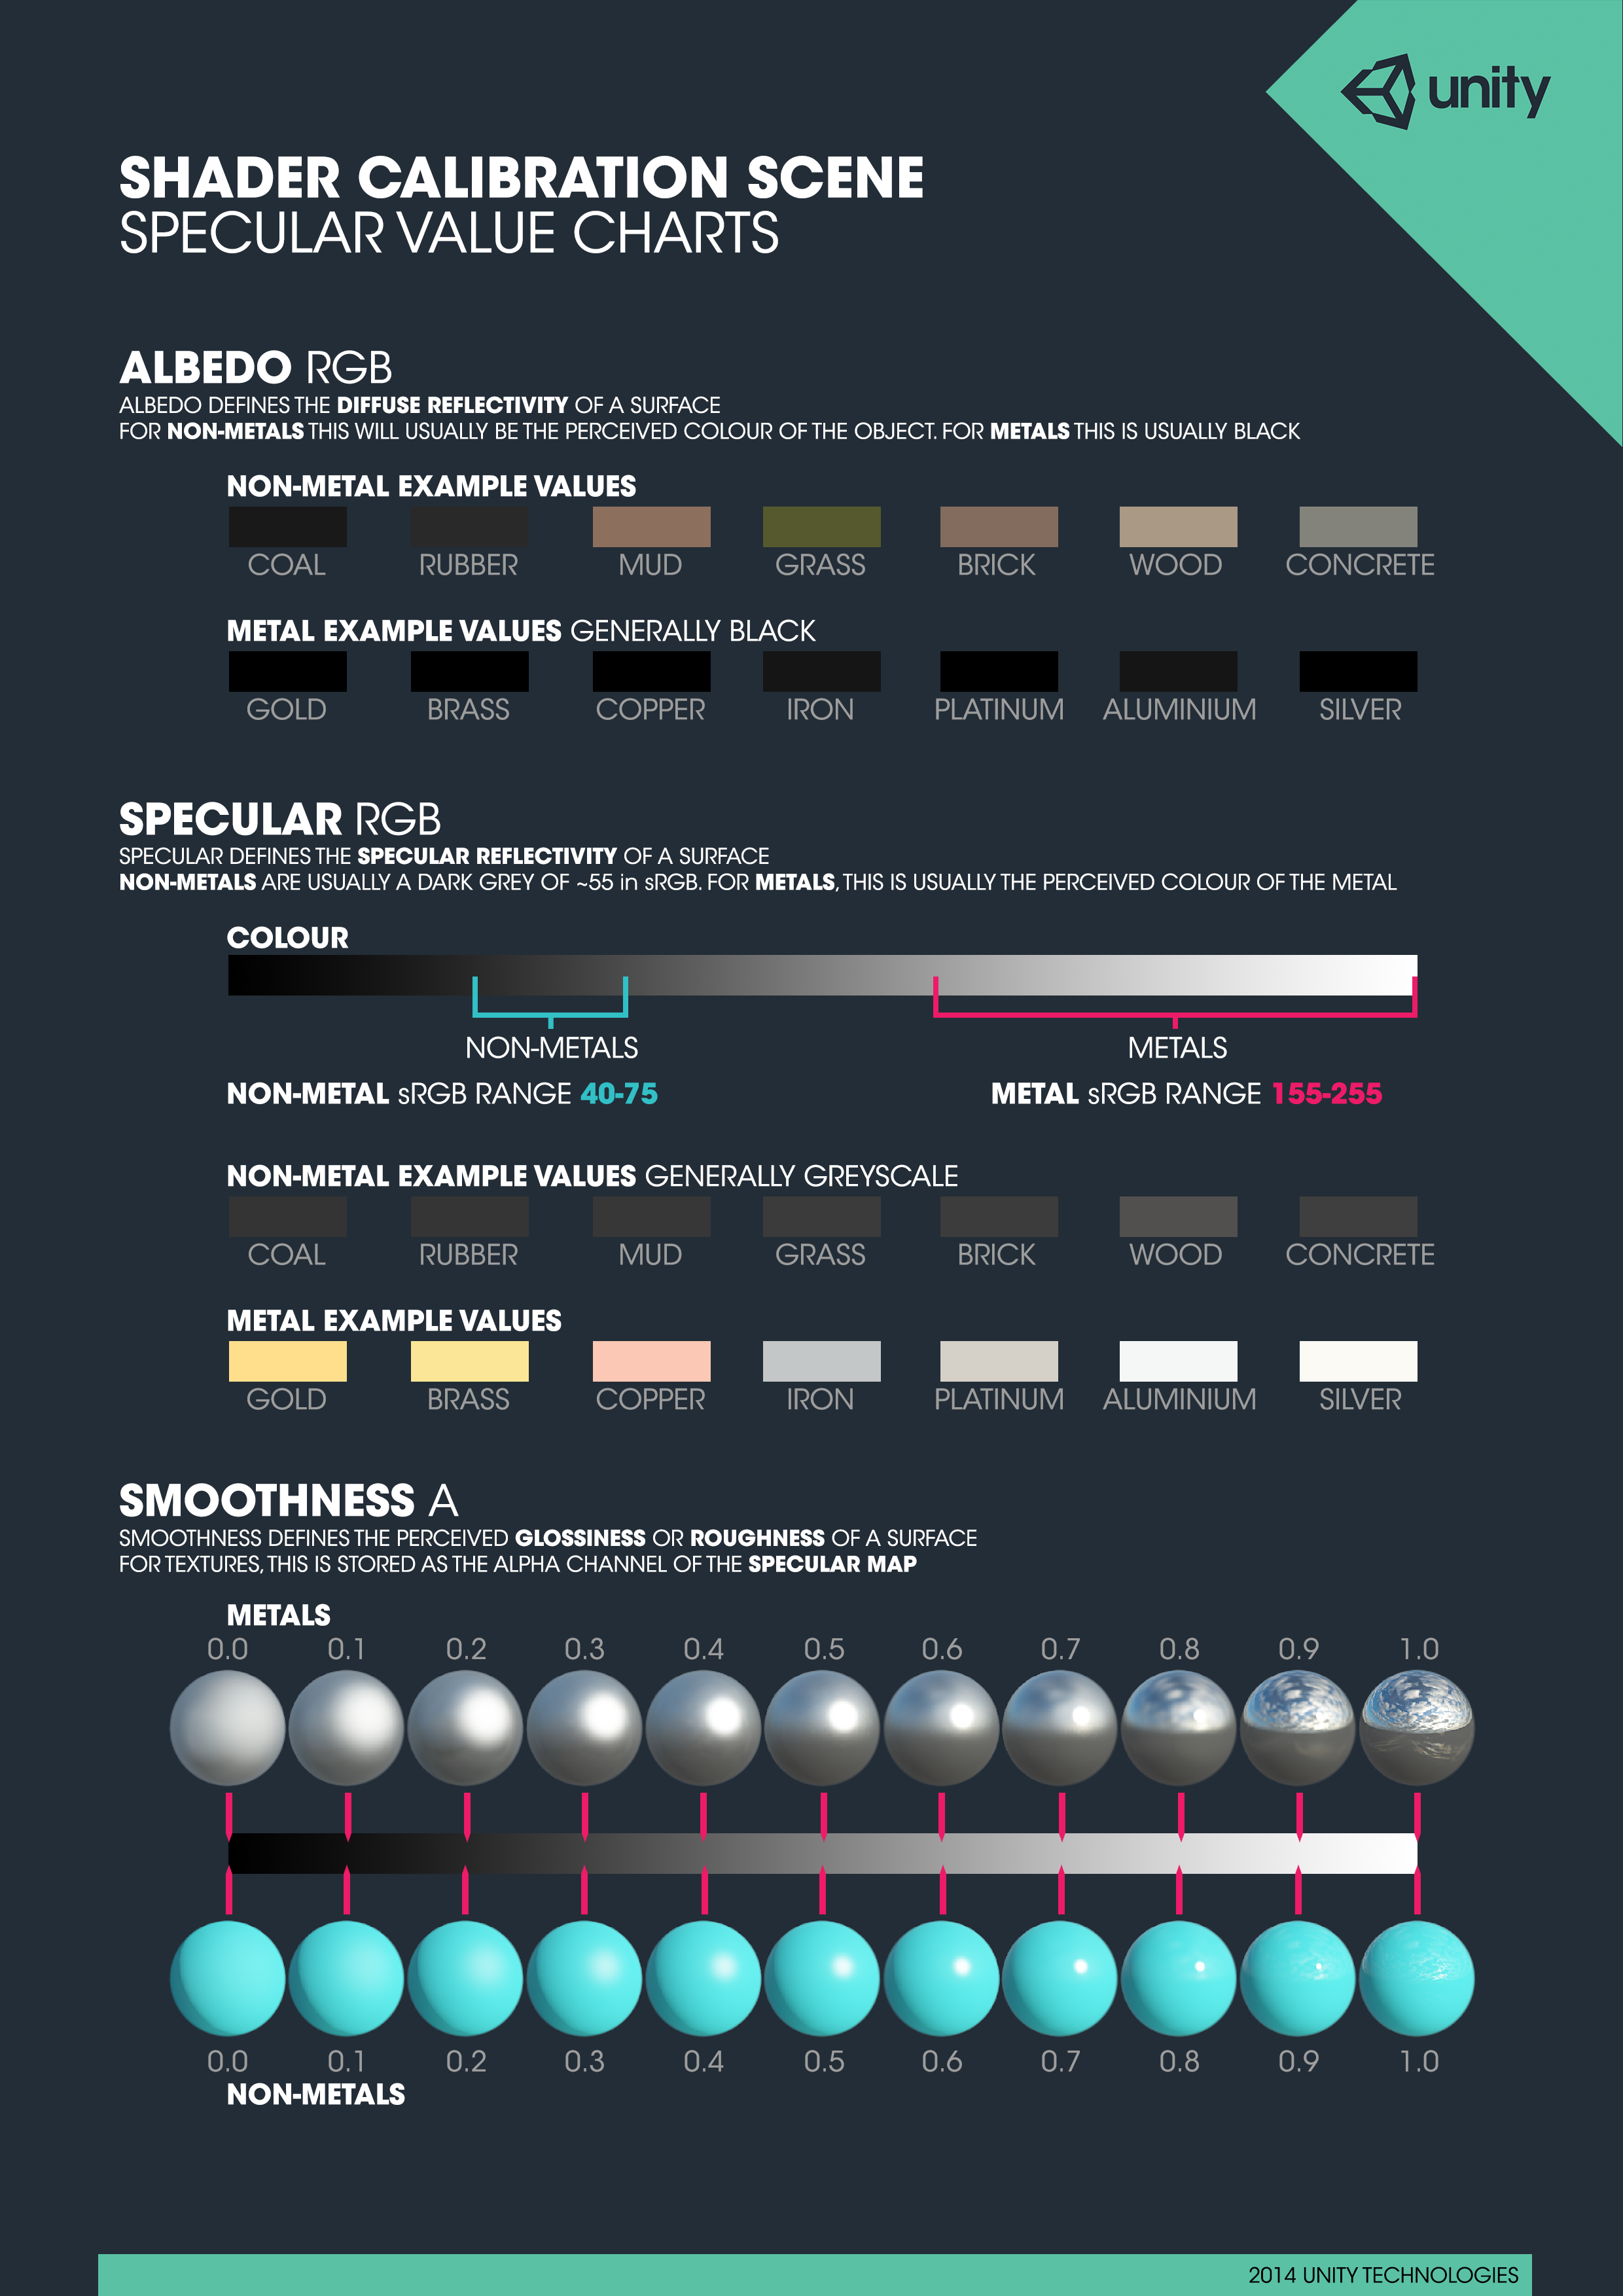
The metallic value chart:

Expand
Choosing between Specular or Metallic workflows is largely a matter of personal preference, you can usually get the same result whichever workflow you choose to use.
Aside from charts and values, gathering samples of real world surfaces is highly valuable. It is of great help to find the surface type you are trying to imitate and try to get an understanding of how it reacts to light.
Setting up the material
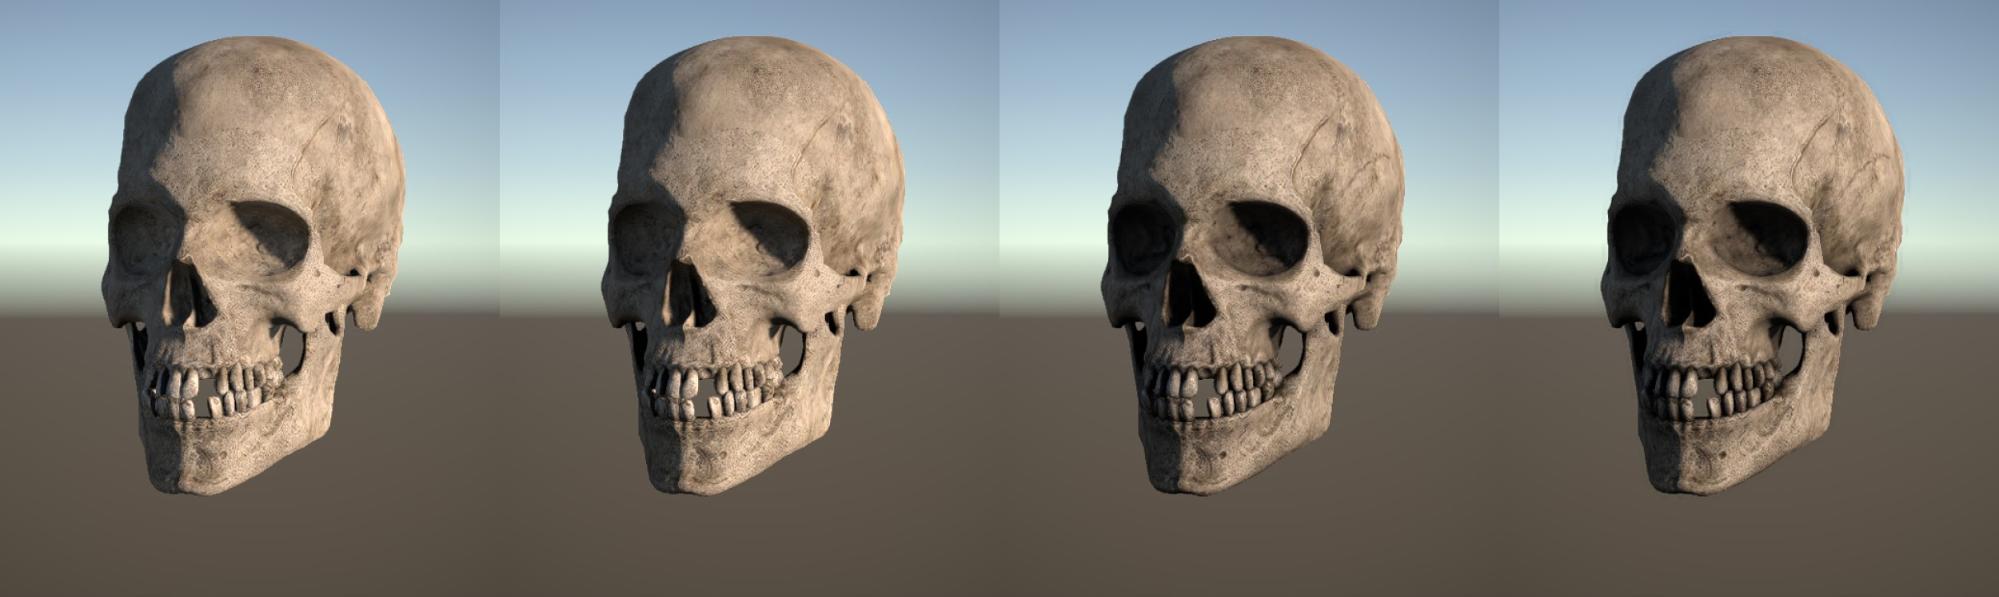
When starting out, it’s often useful to create a plain but tweakable representation of the materials using colors, values and sliders derived from the calibration charts. Then, you can apply textures while keeping the original material as a reference to confirm that characteristics are preserved.

Top row: untextured. Bottom row: textured. Left to right: Rock, Wood, Bone, Metal.
The traditional approach to creating textures
Textures in the Viking Village have been authored using both manual-traditional methods (photos + tweaking) as well as through scanned Diffuse/albedo, specular-, gloss and normal map images which were provided to us by Quixel.
Be careful when adding detail in the texture channels of the material. For example, it usually pays to avoid placing lighting (Ambient Occlusion, shadows etc.) in your textures: remember that the physically based rendering approach provides all the lighting you should need.
Naturally, retouching photographs is more demanding than using scanned data, specially when it comes to PBS-friendly values. There are tools that provide assistance to make the process easier, such as Quixel Suite and Allegorithmic Substance Painter.
Scanned data
PBS-calibrated scanned textures alleviate the need for editing, since data is already separated into channels and contains values for albedo, specular and smoothness. It is best if the software that provides the PBS-calibrated data contains a Unity profile for export. You can always use the reference charts as a sanity check and as a guide if you need to calibrate the values using Photoshop or a related tool.
Material examples
The Viking Village Scene features a large amount of content while trying to stay within reasonable texture memory consumption. Let’s take a look at how we set up a 10-meter-high wooden crane as an example.
Notice that many textures, especially specular and diffuse textures, are homogenous and require different resolutions.
Example1: This Crane object has 2 materials: 2 diffuse, 1 specular-smoothness, 2 occlusion and 2 detailed textures.
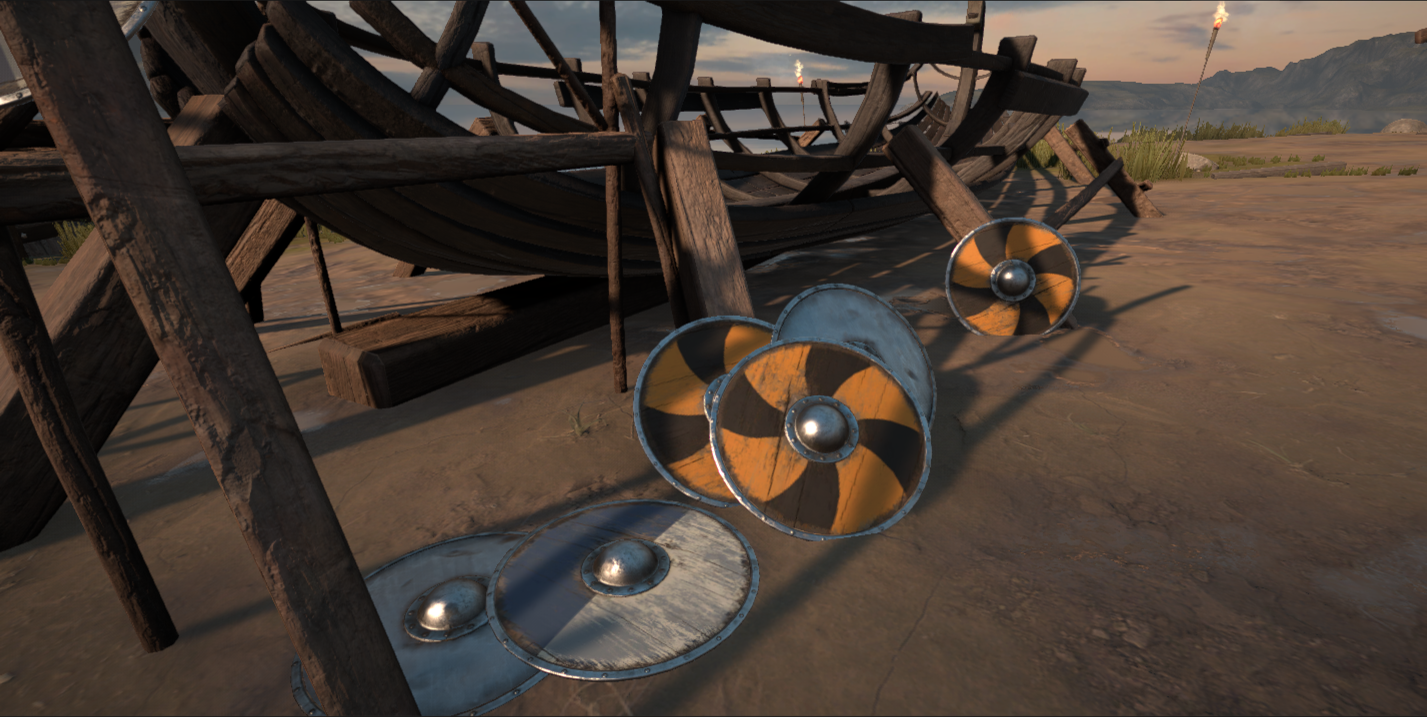
Example 2: The shield prop has 1 material: 1 diffuse, 1 specular-smoothness, 1 occlusion and no detailed textures.
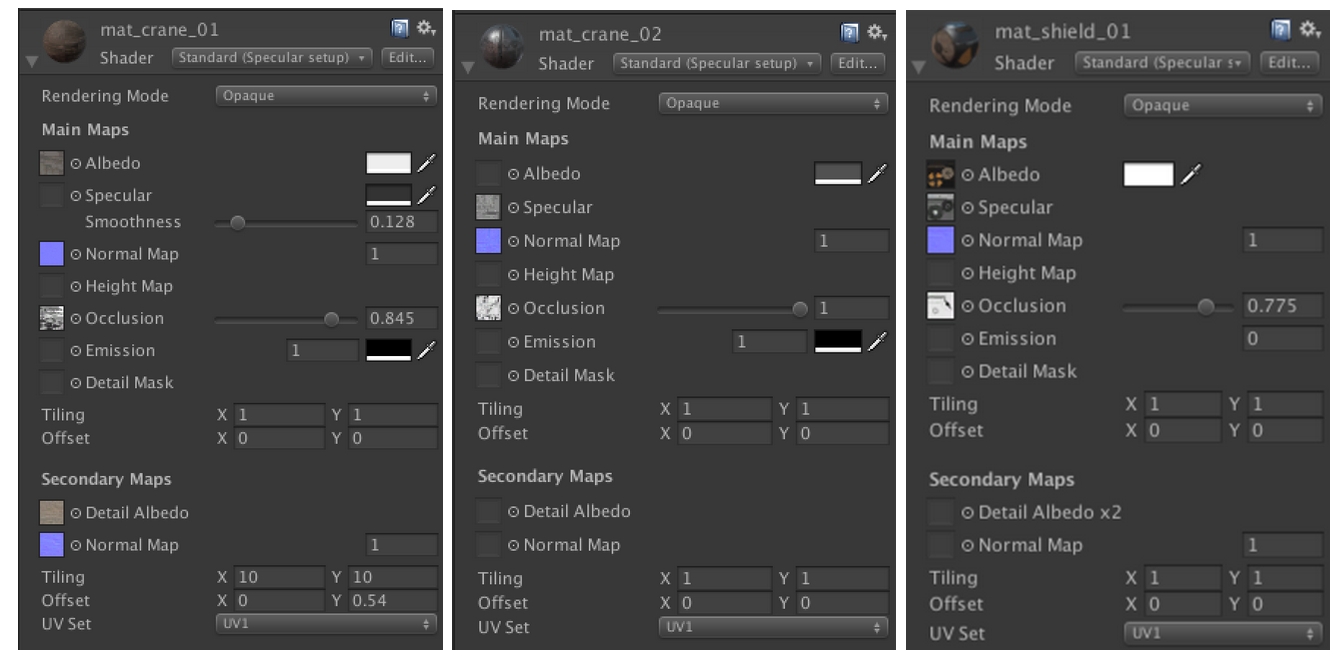
On the left: Crane Inspector for both materials. Rightmost is the shield prop material.
- Albedo texture: In the specular workflow it represents the color of diffuse light bounced off the surface. It does not necessarily need to be highly detailed as seen in the left image (crane), whereas the right texture (shield) includes significant unique detail.

Painted Crane Diffuse Map snippet with plain wooden color and intensity. Contains a modest amount of detail. Right image: Shield Diffuse texture with higher (ppi) unique detail.
Diffuse value (no texture) for crane material
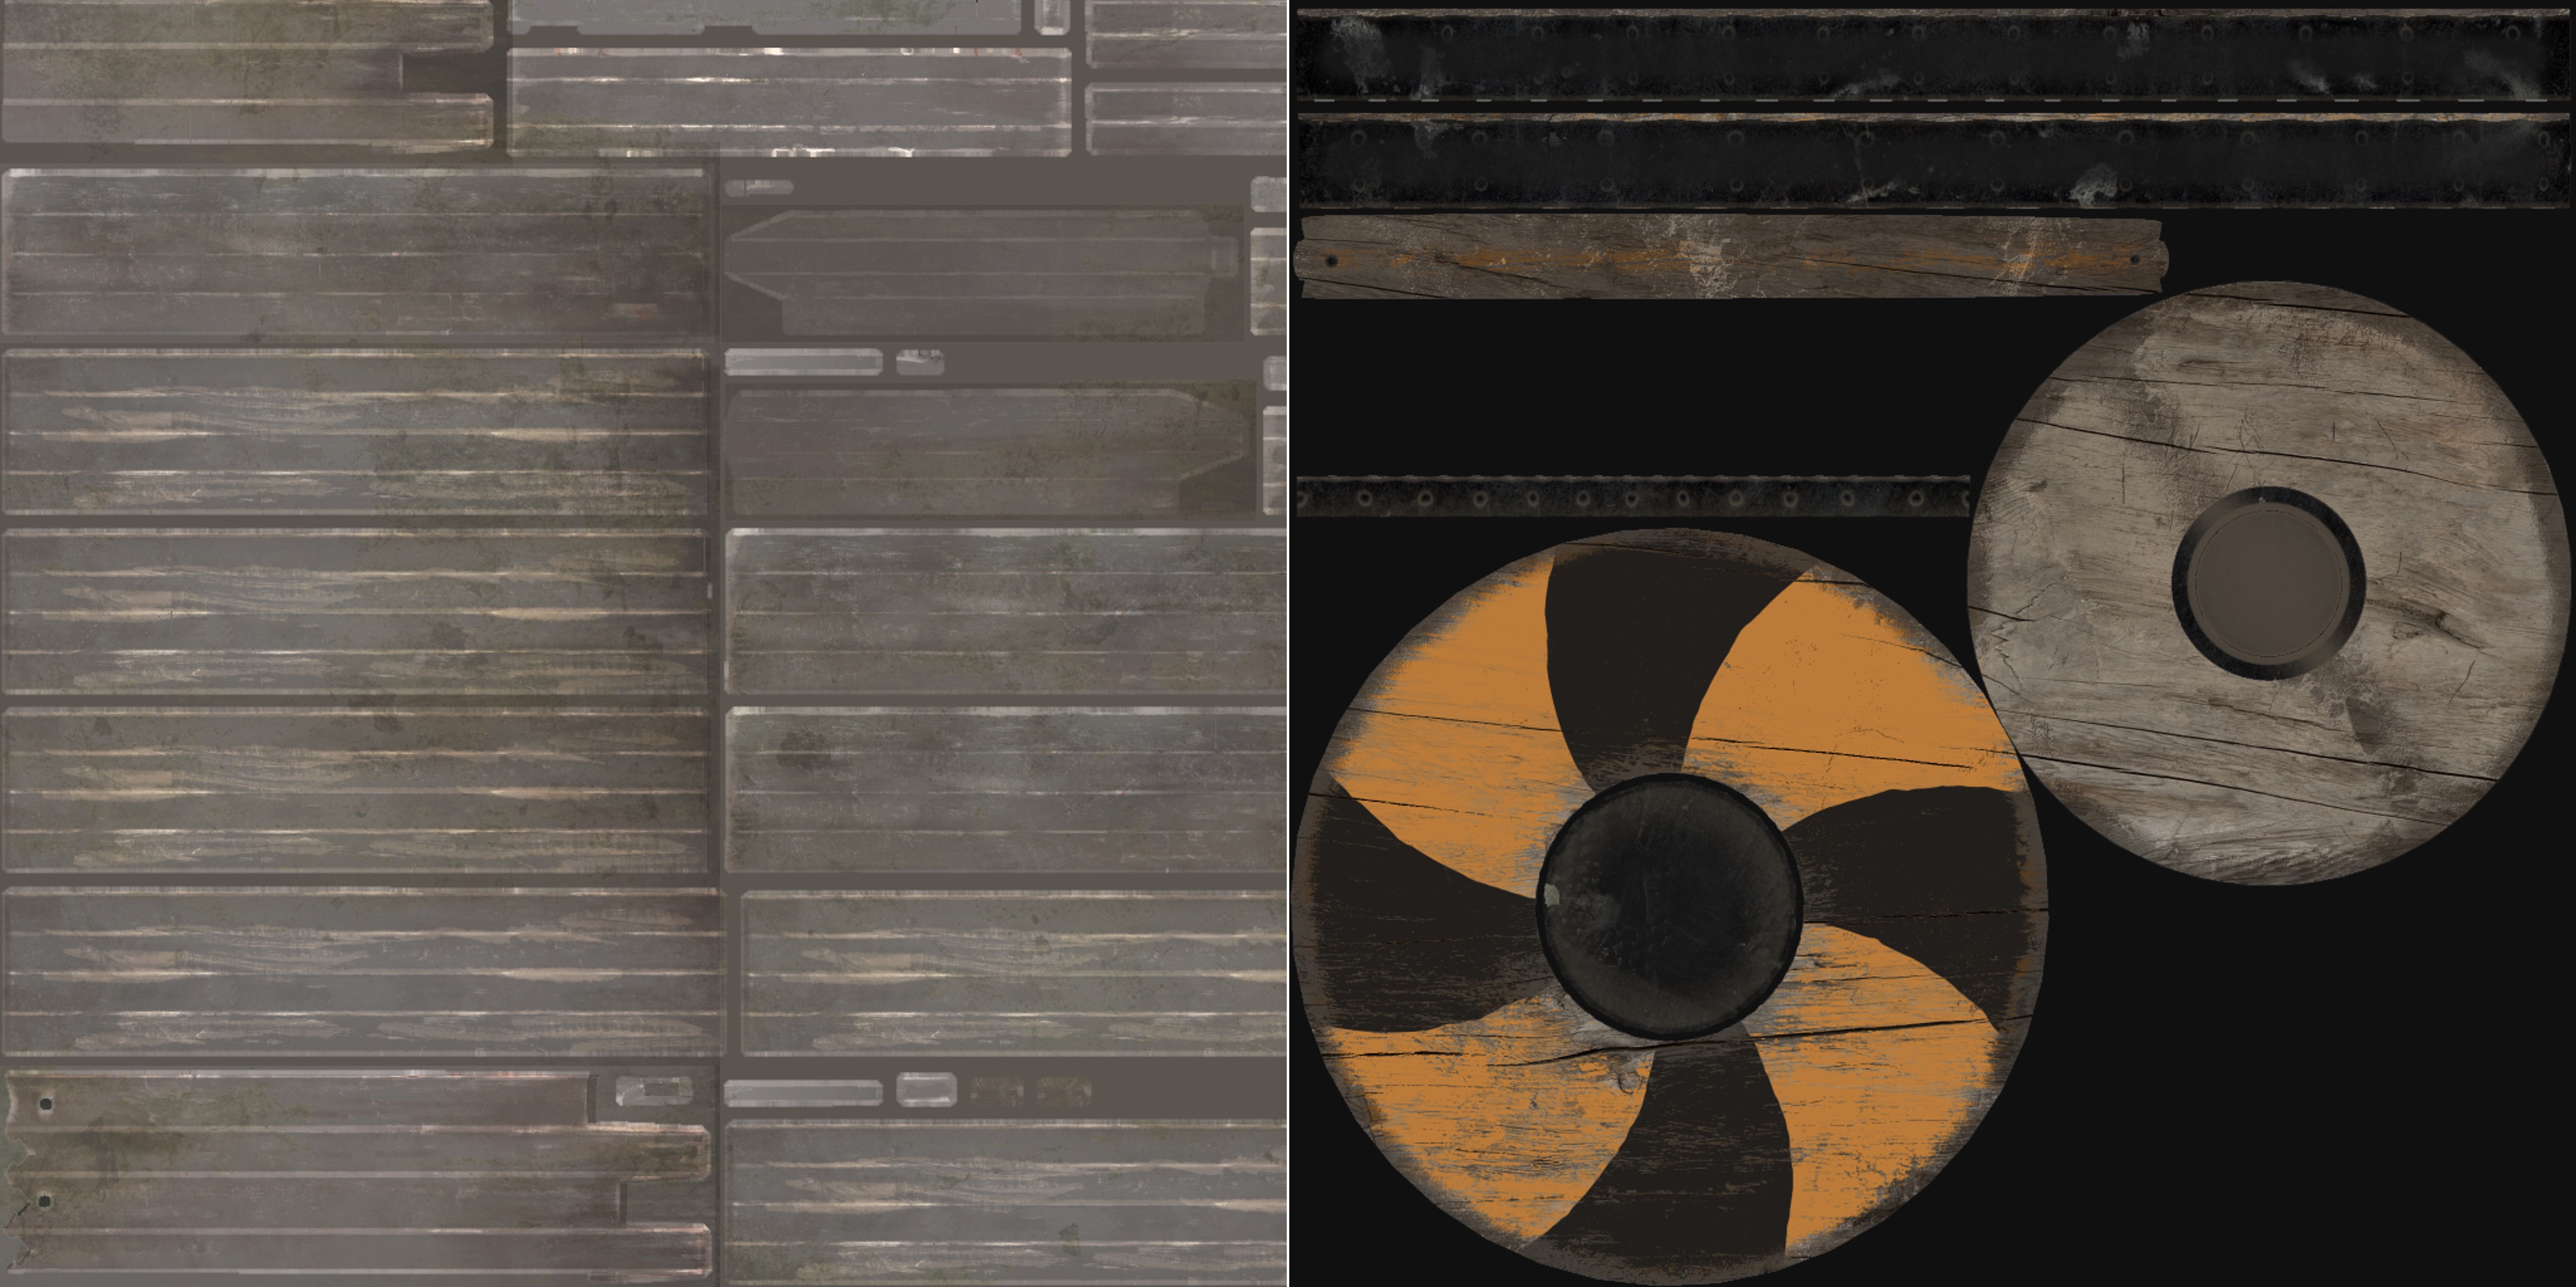
- Specular: Non-metals (insulators) are comparatively dark and in grayscale while metal values are bright and could be colored (remember that rust, oil and dirt on a metal are not metallic). Specular for the wood surface did not benefit extensively from a specular texture, so a value was used instead of inputting a map.

Crane Specular values for wood.
Crane Specular map for metal (not using metallic shader). Right: Shield Specular texture.
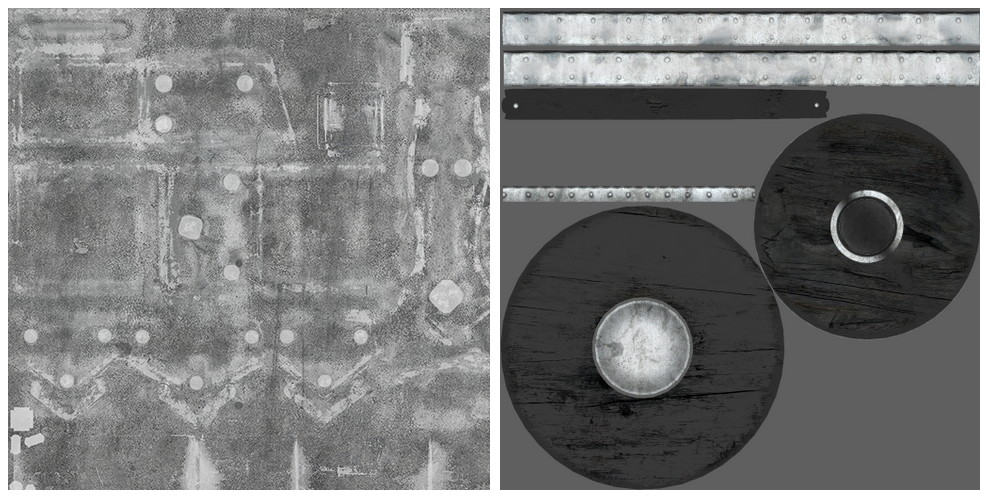
- Smoothness is a key element in PBS materials. It contributes variation, imperfections and detail to surfaces and helps represent their state and age.
For the crane, smoothness happened to be fairly constant across the surface and was therefore substituted by a value. This delivered a reasonable texture memory gain.

Crane Smoothness values for wood. No textures required!
Crane Smoothness map for metal (not using metallic shader). Right: Shield Smoothness map with mixed metal and wood surfaces.
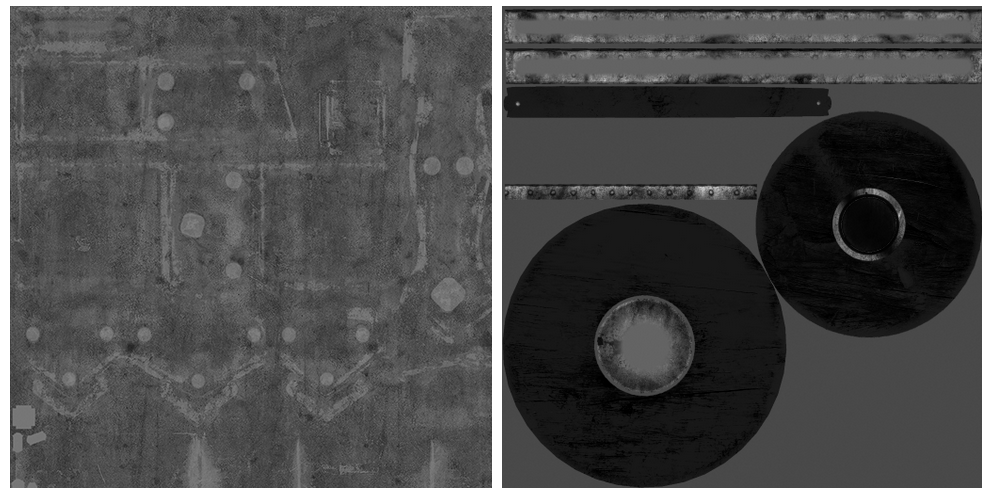
- Occlusion indicates how exposed different points of the surface are to the light of the surrounding environment. Ambient Occlusion brings out surface detail and depth by muting ambient and reflection in areas with little indirect light.
Keep in mind that there’s also the option of using SSAO (Screen Space Ambient Occlusion) in your scene. Using SSAO and AO could result in double darkening of certain areas, in which case you may want to consider treating the AO map as a cavity map.
An AO map that would emphasise deep cracks and creases may be the best option if the game uses SSAO and/or lightmapped Ambient Occlusion.
1 Lightmapped AO, 2: Occlusion texture, 3: Occlusion in Diffuse, 4: Image effect SSAO
Secondary Textures and resolution
Secondary Textures can be used to increase the level of detail or provide variation within the material. They can be masked using the Detail Mask property.
Due to the low resolution primary diffuse wood texture in the Crane example, the secondary texture set is crucial. It adds the fine detail to the final surface. In this instance, the detail-maps are tiled and at a reasonably low resolution. They are repeated on many other wooden surfaces, thus delivering a major texture memory saving.
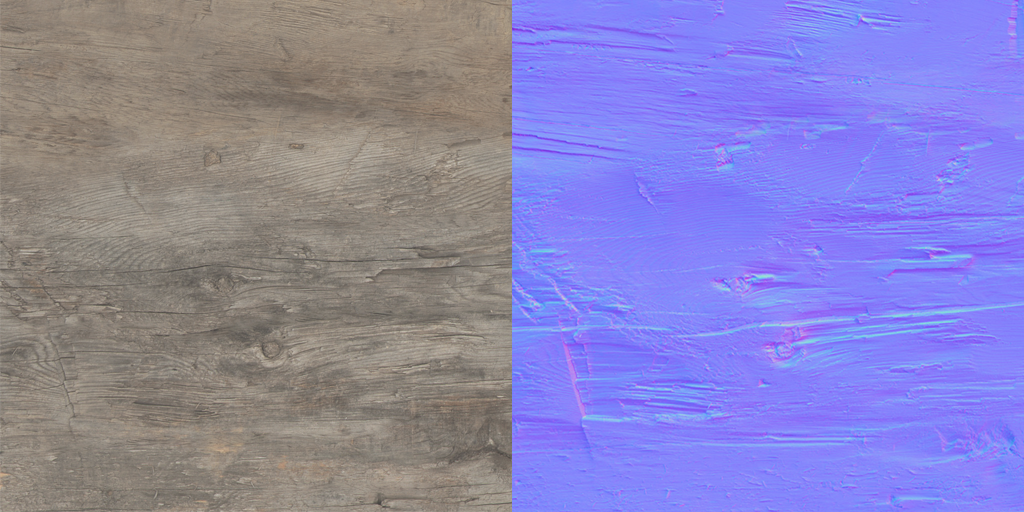
Secondary albedo- and normal maps compensate for the low-resolution main diffuse and normal map. Both textures reduce overall texture memory by being widely “overlayed” and tiled on wooden surfaces throughout the village. Be cautious when providing lighting information to a diffuse detail map as it this has a similar effect to adding such information to primary diffuse.
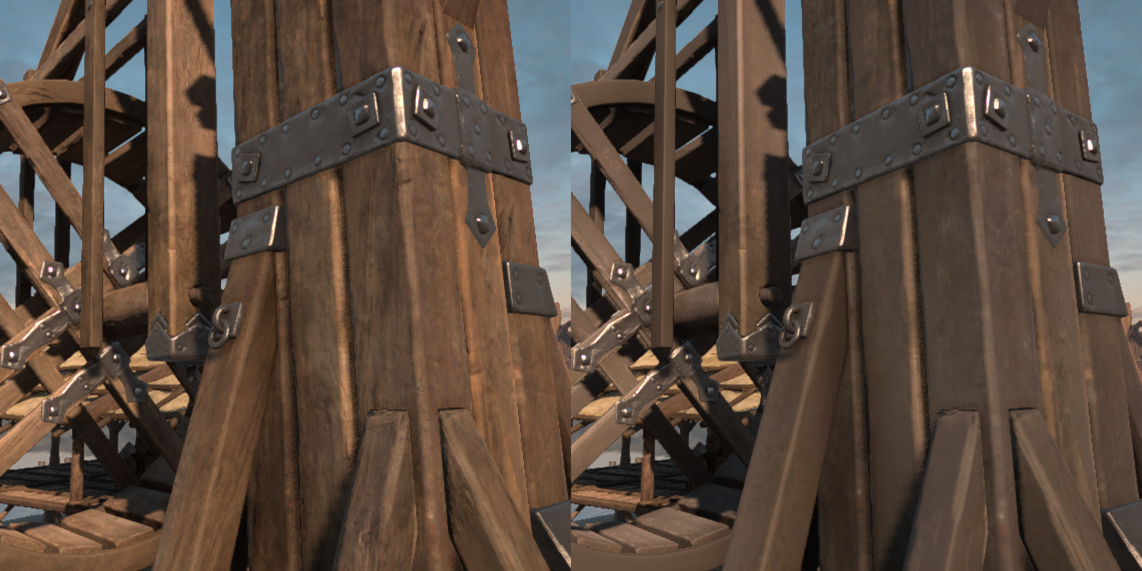
Crane wooden surface with (left) and without (right) secondary texture maps.
These workflows certainly helped us when designing the Viking Village project. We hope you also find them useful, and look forward to reading your comments!
Acknowledgements
The Viking Village project was launched in partnership with the creative team at Quixel, developer of HDR surface capture technology and the Quixel Megascans library of PBS-ready textures.
Big thanks to the very talented Emmanuel “Manu” Tavares and Plamen “Paco” Tamnev for bringing this scene to life.